Do you know that most TV app users stream on Roku devices? Well, what does that mean for you? Developing a Roku channel needs to be at the top of your to-do list if you intend to reach your audience on their TVs. Plus, if you plan to become a thought leader as a trusted source or validate your content through subscriptions, Roku might be for you.
Either shell out cash to create a website, develop an app or opt to create your own Roku channel. So, how do you create a Roku channel?
Let’s face it, the majority of us don’t have a technical background. That means coding isn’t our cup of tea. Are there non-technical ways to create a Roku channel? Yep. Here’s a lowdown of two methods to go about it, even if you’re not tech-savvy or are just starting.
Method#1: Roku Direct Publisher
Roku’s in-house service is designed to help you set up your channel. Roku provides you with a set of follow-along screens whereby all you need is to input the required information. It’s just like installing new apps or software on your computer. Easy, right?
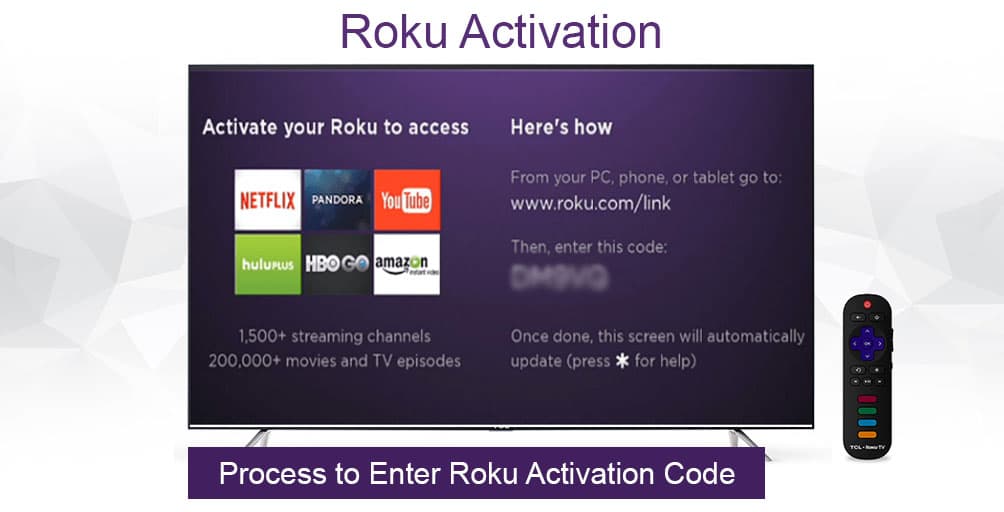
Set up a Direct publisher account by signing up at Roku, creating a developer account, connecting your TV to a Roku device, and voila! A TV with a built-in Roku is a plus.
Follow the prompts to fill in information such as the name of your channel and the type of streaming content you intend to provide your viewers. Once you get to the final screen of steps, your channel is set up from a technical standpoint. However, you’ve only completed laying the groundwork. It would help if you did a few things before your channel went live. These are:-
1. Set up a Video Delivery Network
Involves setting up a Content Delivery Network(CDN). Simply put, a CDN is a third-party server that hosts your video content and delivers it to your viewers through the channel you’ve launched. A third-party CDN serves as a ‘warehouse’ to ‘stockpile’ your content and offer it as needed or on-demand. CDN costs vary depending on the level of service you expect.
2. Create a Feed
A content feed is a code that notifies the CDN where to stream your content. The code contains descriptions of your content, page URLs, and titles.
Find a developer to handle the niche-specific code language for your channel while creating the feed. Don’t skimp; find a developer who knows their craft to ensure nothing breaks.
3. Get a Web-hosting Service
Supposing your feed is up to scratch, an investment in a web-hosting service would help keep your content online; This works the same way as web hosting for websites. Opt for a reliable service that can ensure uptime and provide you with technical support for customization or dealing with issues that might arise down the road.
Method#2: Custom Development
If all else fails, and you can’t seem to wrap your mind around the process, why don’t you have someone else do it? You don’t have to beat yourself up just because you can’t hack it.
Custom development involves hiring a professional with Roku-related experience and coding knowledge to build your channel from scratch. Full-on custom development takes time, and costs vary depending on the features you intend to integrate into your channel.
Expect to pay between $5000 and $20000 as developer fees. That’s not chump change, but consider the value of your channel in boosting revenue if you’re in business. Look at the cost in terms of the time and effort you need to develop a Roku channel versus paying someone on Fiverr or any other job board to do it on your behalf. Ok, that’s just me thinking out loud.
You also need to factor in additional costs of supporting, scaling, hosting, among others. Avoid cutting corners if you take this route to guarantee the results you’re after.
Lastly, if you’re looking for an avenue to get your content to your audience, a video-on-demand streaming service such as Roku is the way to go. Setting up your Roku channel isn’t as complicated as it seems.
Remember, launching your Roku channel is merely a starting point. You need to figure out ways to scale and enhance it to reap the monetary benefits; This takes time and money, too. So, before you get started, have such details in mind to streamline the entire process.

